


 By Nik, founder of 東歐嚴選|kefir.link and former chef · First published 3 March 2022 · Updated 3 November 2026
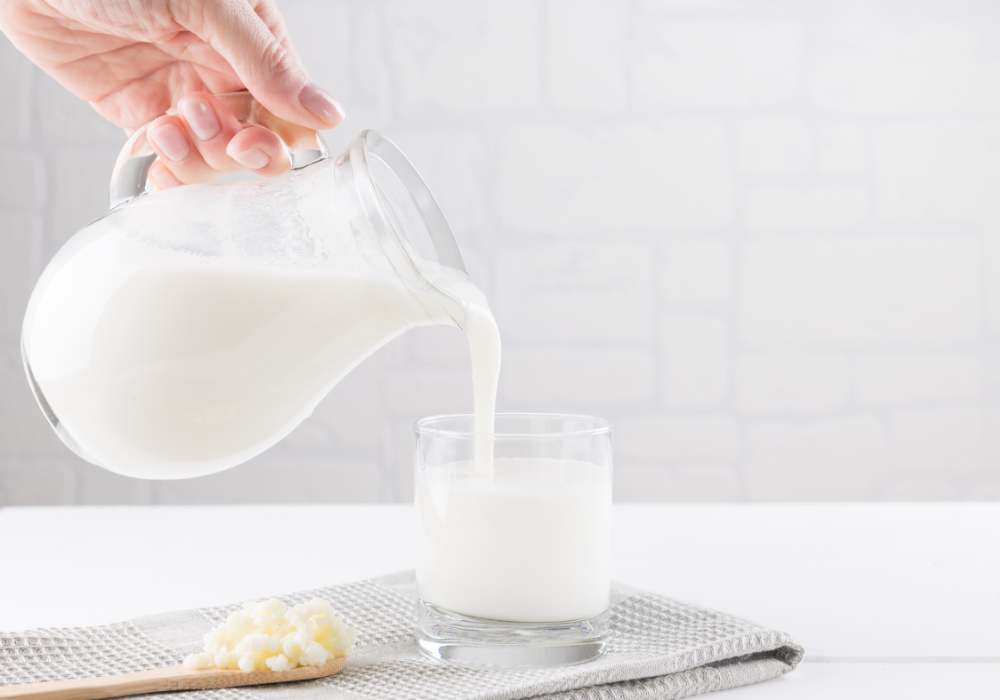
Making kefir at home takes two ingredients and about five minutes of work a day: living kefir grains and fresh milk. The grains do the rest while you sleep. This guide shows you exactly how we do it in Taiwan, including what changes in a 30°C summer, how to tell when a batch is ready, and what to do when something looks wrong.
The short version
- What you need: live milk kefir grains, fresh whole milk, a glass jar, kitchen paper with a rubber band, and a plastic or stainless steel strainer.
- How it works: put the grains in milk, cover the jar, leave it at room temperature for about 24 hours, strain out the grains and put them straight into fresh milk.
- How much milk: for the first three batches use little milk (about 10 g of grains to 200 ml in summer). Then use our kefir calculator for your room temperature.
- When it is ready: the milk has thickened, starts to separate and smells sour; a pH strip reads 4.6 or lower within 36 hours.
- The one rule: keep the grains at room temperature, below 35°C.
What you need
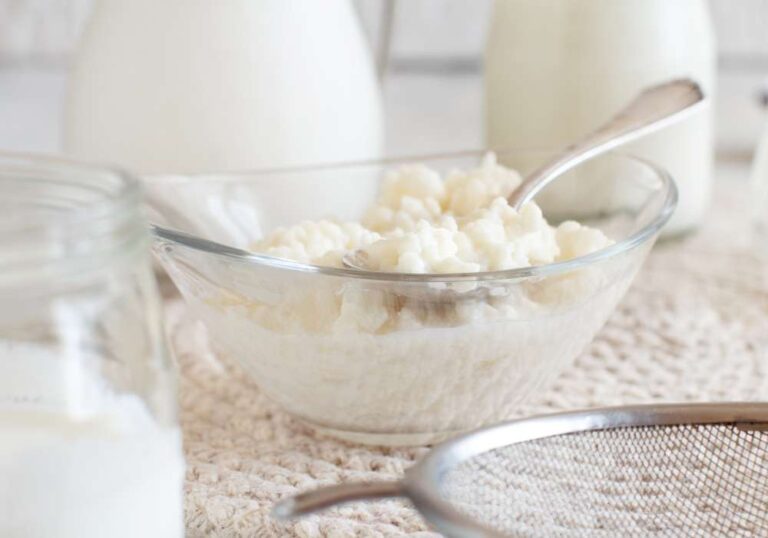
Kefir grains are soft white clusters of lactic acid bacteria and yeasts that live together in a jelly they make themselves. In milk at room temperature they turn lactose into lactic acid, which makes the milk tangy and thick, and the yeasts add fine bubbles. After each batch you strain the grains out and use them again.
| Item | Why |
|---|---|
| Live milk kefir grains | The starter. 10 g ferments about 100–300 ml of milk, 20 g about 200–600 ml. |
| Fresh whole milk | Pasteurised fresh milk from the chiller works best. See which milk to use. |
| A clean glass jar | Glass is safe with the acid in kefir and lets you see the layers. Leave room at the top. |
| Kitchen paper and a rubber band | Lets the gas out and keeps insects and dust out. Fasten it well. |
| Strainer and spoon | For straining the grains out. Plastic, silicone, bamboo or stainless steel all work well. |
| pH strips | Show whether the batch has fermented enough. Included with our grains. |
Our grains come with a printed care guide, pH strips, a bamboo spoon, a silicone spatula, a marker and a thermometer sticker; the kits add a 1 litre glass jar and a strainer.
How we checked this guide
- Our own method: the steps, amounts and times come from the printed care guide that ships with our grains and from our kefir calculator, which we built for Taiwan’s room temperatures.
- Food-safety guidance: the pH limit, milk choice and storage advice follow the British Columbia Centre for Disease Control’s kefir guidance (2024), the most complete public-health review of kefir we found.
- Published research: studies on temperature, milk types and grain growth, linked next to the sentences they support.
- Our customers: the troubleshooting comes from years of questions on LINE, from Taipei to Hong Kong.
Before the first batch: grains that just arrived
- Start soon. The grains need fresh milk after the journey. If you start on a later day, keep them in the fridge and start before the date on the bag.
- Throw away the travel liquid. Strain the grains and pour away the liquid in the jar, which is milk that fermented on the way. A little leaked milk or a swollen bag is normal, so open the jar slowly.
- Use whole cow’s milk in the first week. Start soy and other milks once the grains ferment well.
- Use little milk for the first three batches: about 1 part grains to 20 parts milk in summer (10 g in 200 ml) and 1 to 5 in winter. The first batches may be thin while the grains wake up.
How to make kefir, step by step
- Clean and dry everything. Wash the jar, strainer and spoon with ordinary dish soap, rinse well and let them dry completely. Completely dry tools keep unwanted microbes out.
- Weigh the grains and pour the milk. Put the grains in the jar and add milk at the ratio for your room (see the table below). Milk straight from the fridge is fine.
- Cover and wait. Cover the jar with kitchen paper and a rubber band so the gas can escape. Leave it out of direct sun at room temperature, ideally about 24°C, for about 24 hours. Write the start time on the jar.
- Check it. Tilt the jar gently: finished kefir has thickened, starts to separate and smells pleasantly sour. A pH strip gives you a clear answer.
- Strain. Stir gently and pour through the strainer into a clean jar or cup. If it is thick, gently move it around with the spoon.
- Start again. Put the grains straight from the strainer into fresh milk. Put the kefir in the fridge or drink it.
How much milk for your grains, and at what temperature
The warmer the room, the faster the grains work, so a hot room needs fewer grains for the same milk. These are the amounts our calculator gives for 24 hours with milk from the fridge:
| Room temperature | Grains per litre | For 10 g of grains |
|---|---|---|
| Cool, about 16–18°C | about 40 g (1:25) | about 250 ml |
| Mild, about 22–25°C | about 33 g (1:30) | about 300 ml |
| Warm, about 28–30°C | about 25 g (1:40) | about 400 ml |
| Hot, about 32°C | about 20 g (1:50) | about 500 ml |
- Exact amounts: the kefir calculator uses your day and night temperatures, the milk temperature and how many hours you want.
- Grains just out of the fridge or the post are slower: use the first-batches ratio above, or choose “sleepy grains” in the calculator.
- As the grains grow, add milk so each batch stays thick and pleasantly sour.
- Taiwan’s summer: grains do best at about 20–25°C (study). On hot days, put the jar in the coolest spot in your home and use fewer grains. More in Why temperature matters when making kefir.
- Keep it below 35°C: ferment at room temperature, away from yogurt makers, rice cookers, ovens, microwaves, sunny windowsills and hot cars.
How to tell when your kefir is ready
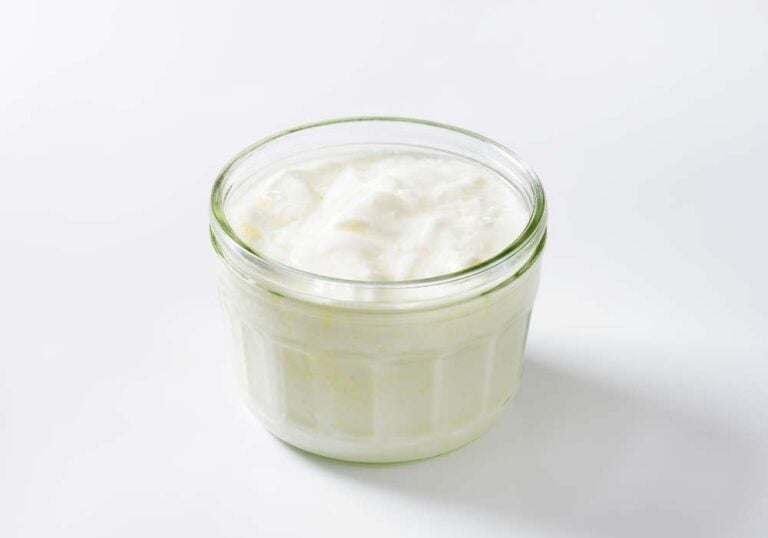
- Look: the milk has set like soft tofu, the grains float on top, and clear yellowish whey starts to appear.
- Smell: pleasantly sour, like yogurt, with a light yeasty note.
- Measure: fresh milk is about pH 6.6. Food-safety guidance says milk kefir should reach pH 4.6 or lower within 36 hours (BC Centre for Disease Control); well-fermented kefir is usually about 3.5–4.2.
- Reading the strip: stir first, put one drop on the strip, and read the evenly wet ring around the drop. Test after 12–24 hours.
- Still runny at 24 hours? Close the jar and wait, up to 36 hours in total. If it is still like milk at 36 hours, pour the milk away, keep the grains and use less milk next time.
For an exact reading, see Did your milk kefir work? Test it with a pH meter.
Which milk to use
| Milk | Result |
|---|---|
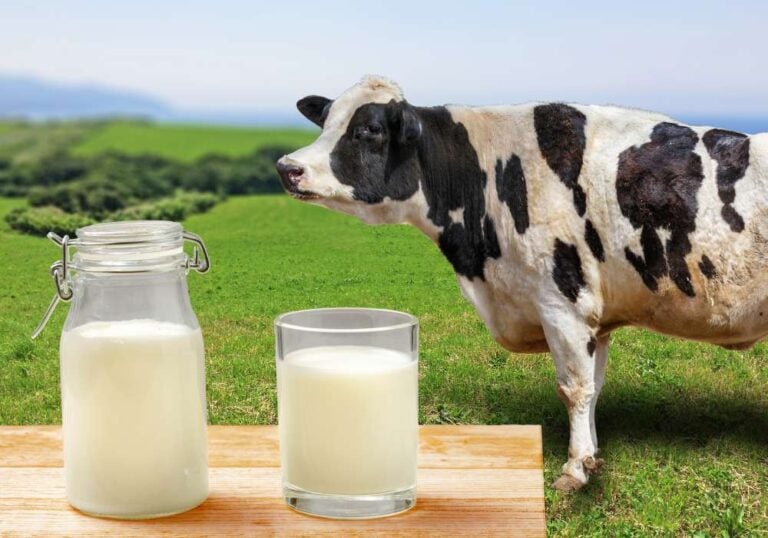
| Fresh pasteurised whole milk | The best choice: rich kefir and lively grains. Any brand from the chiller works. |
| Low-fat milk | Works; the kefir is thinner and less creamy. |
| Long-life milk (kept at room temperature) | Works. Chilled fresh milk gives a fresher taste, and most chilled fresh milk in Taiwan is UHT-treated too, so it works well. |
| Goat’s milk | Works; a thinner kefir with a goat’s-milk taste. |
| Lactose-free milk | Use regular milk instead. The bacteria in the grains feed mainly on lactose, and regular milk keeps the culture balanced (study). |
| Flavoured milk or milk powder | Use plain fresh milk instead. It keeps the grains springy and the taste clean. |
| Raw milk | Use pasteurised milk instead. Food-safety guidance recommends pasteurised milk for kefir, because pasteurising removes harmful bacteria that raw milk can carry. |
| Soy, coconut and other plant milks | Possible once the grains are settled. After about six days of plant milk, give them a day of fresh cow’s milk. See Fermenting kefir with soy milk and other plant milks. |
More on milk: Milk matters: how processing affects kefir.
Storing and drinking your homemade kefir
- Into the fridge straight away, in a closed glass jar or bottle.
- Up to 21 days in a sealed bottle. Closed and cold (2–4°C), homemade kefir keeps up to 21 days. It keeps fermenting slowly, so each week it gets thicker, sourer and more yeasty. Once opened, finish it within 3 days.
- Fizzier kefir: close the strained kefir in a bottle, optionally with a piece of fruit, and leave it in the fridge for a day. See Milk kefir second fermentation.
- How much to drink: start with a small glass of about 50 g. See When is the best time of day to drink kefir?
- Thick kefir to eat with a spoon: strain it in the fridge in our Greek yogurt maker.

When something looks wrong
| What you see | What to do |
|---|---|
| Still runny, smells like milk | Wait up to 36 hours in total. Next time, use less milk or a warmer spot. |
| Very sour, lots of clear whey, thick curds | It fermented too long, and the grains are fine. Use more milk or a shorter time for the next batch. |
| A thin white or beige layer on top | This is usually yeast. Read Is the white layer on kefir mold? |
| Slimy, stringy grains | This is healthy. It is the gel the grains make, so leave it as it is. |
| Grains growing slowly | This is normal and can last for weeks. Read Are my kefir grains dead? |
| Pink, red, orange, green, blue, grey or black spots, or fuzz | Mould: throw away the grains and the milk, and start again with clean, dry tools. |
| Ants or fruit flies in the jar | Pour away the batch and fasten the paper tighter. If a cockroach got in, throw the grains away too. |
Taking a break: grains in the fridge
- How: put the grains in a clean glass jar, cover them with plenty of fresh milk, close the lid and refrigerate.
- How long: check every 7 days and add or change the milk if it has turned to lots of clear whey. Up to about 3 weeks.
- Coming back: the first batches after a rest are slower. Use less milk for the first three batches.
- More in How to put your kefir grains on pause.
What to do with extra grains
- Make more kefir: add milk as the grains grow, or start a second jar.
- Keep a spare: a small portion in milk in the fridge, so you always have grains ready.
- Share them: friends and family can start their own jar.
- Eat them: grains are edible and springy; add a few to a smoothie.
Grains or powder? Grains can be reused for years with care; a powder starter is used once or a few times. More in 10 things you need to know about kefir.
Get live kefir grainsOr try our ready-made kefir
Frequently asked questions
How long does kefir take to ferment?
About 24 hours at room temperature, faster in summer and slower in winter. Finish within 36 hours. If it is still like milk by then, pour that milk away, keep the grains and use less milk next time.
Can I use a metal spoon or strainer?
Yes, stainless steel is fine. It stays stable in the acid of kefir, just like glass, plastic and silicone.
Can I use a yogurt maker?
Room temperature is the better choice. A yogurt maker runs at about 40°C, which suits yogurt, while kefir grains do best at room temperature.
Do I need to wash the grains?
Put them straight into fresh milk. If they fell on the floor or have a hard skin, rinse them gently with fresh milk.
Why is my kefir so sour and watery?
The grains worked fast, because there were many grains for the milk or the room was warm. Use more milk or a shorter time, and the calculator gives the amount for your temperature.
Can I make kefir with soy milk?
Yes, after the first week. Soy kefir takes about 18 hours and stays thinner. Give the grains a day of cow’s milk after about six days of soy.
How long does homemade kefir keep?
Up to 21 days in a sealed bottle in the fridge; it gets sourer and more yeasty over time. Once opened, finish it within 3 days.
Are there grains in the kefir I buy from you?
Our bottled kefir is fermented with living grains, and we strain the grains out before bottling. To make your own kefir, start with our live grains.
Live kefir grainsSee them





Comments
No comments yet.
Comments could not be loaded.
Join the discussion
or